Lighted Toy Car Garage
Have you ever seen one of those really cool organization ideas on Pinterest and only tried it out to be completely disappointed? Well, that happened to me when I saw the great idea to organize cars by buying one of those metal strips and hang it on the wall to put cars on. As it turns out, you need a COMPLETELY magnetic strip because the one I bought at Target only has 2 small lines of magnets and the cars fall right off!
So, back to Pinterest because I’m a glutton for punishment and I found a cute idea to put the cars into toilet paper rolls and make a cute car garage. Foiled again because trash night was last night!! GRRRR… Plus, I didn’t want to spend that much time and energy on something that wouldn’t be permanent.
I thought I remembered seeing PVC pipe about the size of a toilet paper roll and this super genius idea was born!! LOL! Enter my super smart and super handsome husband who thought to put lights on the back and the Lighted Toy Car Garage is born!
Supplies:
*1 ½ inch pvc pipe (But there is larger if you have larger cars). We bought a ten foot section for $5.
*Duct Tape
*Battery Operated Lights (optional)
*Wax Paper (optional)
Step 1: Cut the PVC pipe into 4 inch long sections.

Step 2: Cover the back of each section with wax paper. (Optional if you’re not using lights. You could also use fabric or leave empty if you’re going to store it against the wall.)

Step 3: Cover the area with duct tape of any kind.
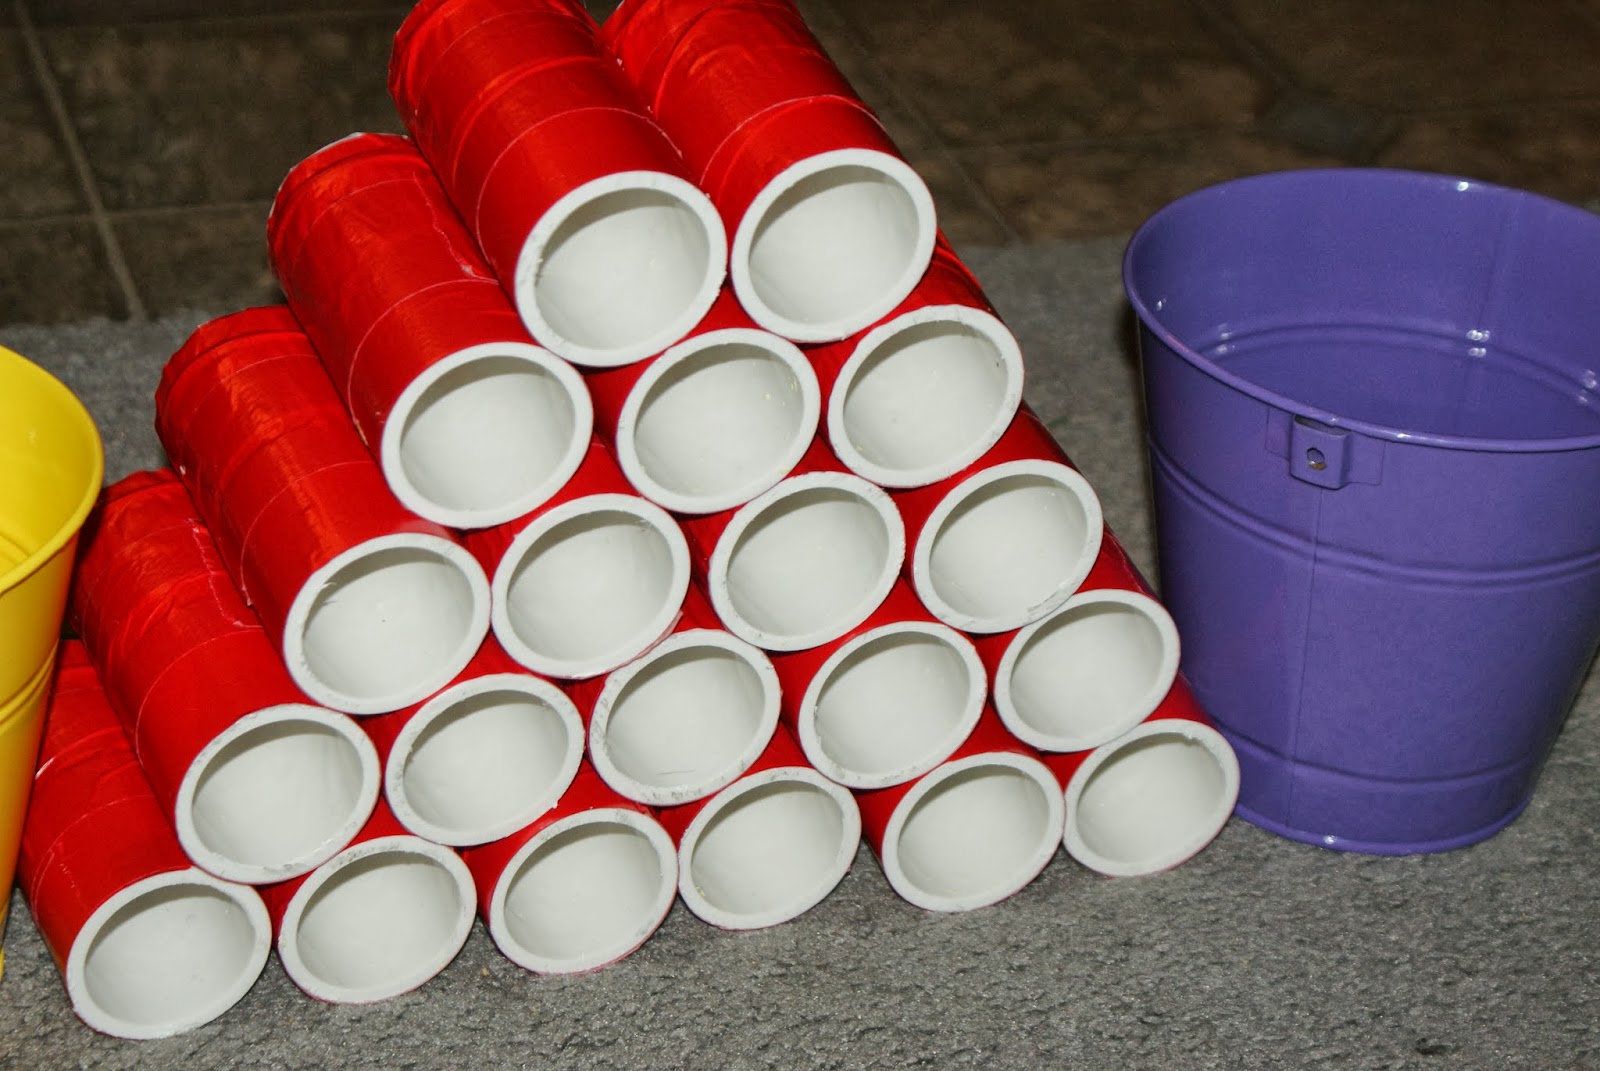
Step 4: Set up your pyramid or any other shape you like!
Step 5: IMPORTANT: If you are making a pyramid or any other stacking structure, each section must be secured layer by layer. Wrap each layer together using one piece of tape. Next, tape the next layer to the base layer and repeat until you have all layers taped together. If this step is skipped, the middle rows will not be secured and will fall out.


Step 6: We taped battery operated lights to the back of each tube.


Step 7: We put the batteries and on/off switch in the top tube but this could easily be taped to the side. We just liked the look!!!